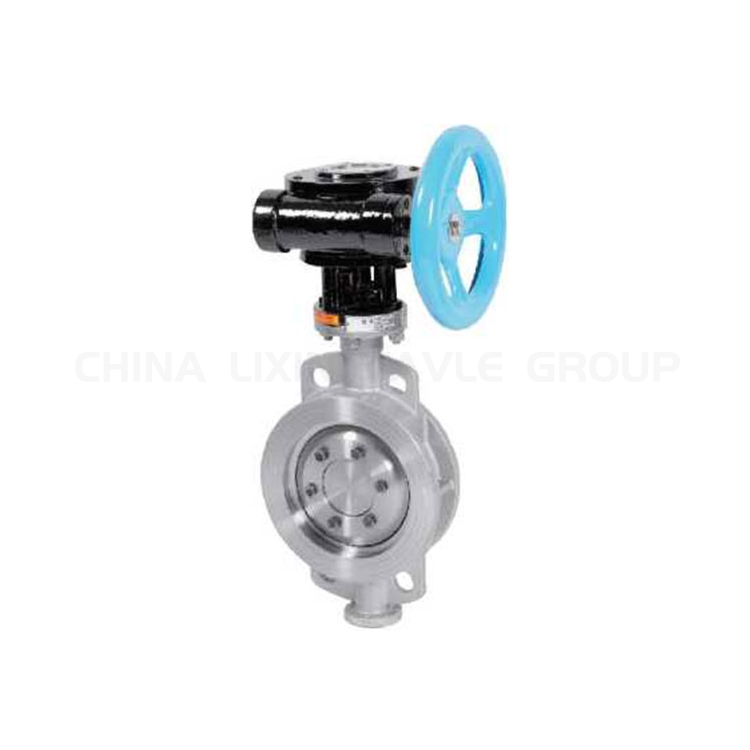
How do I install a wafer style butterfly valve?
Release time: 2024-03-14 09:03Views: 14
When installing a wafer style butterfly valve, follow these steps to ensure proper installation:
Flange Sizing
-
- Ensure you have correctly sized flanges for the valve being installed.
- Undersize flanges will not clear the minimum disc clearance diameter (‘Q’), resulting in damage to the valve and flanges.
- Oversize flanges may prevent correct compression of the valve’s liner and affect sealing on the flange faces.
Spread the Flanges
-
- Spread the flanges apart to allow the valve to slide between them.
- Ensure the disc is in the partially open position but not protruding beyond the body.
Bolt Installation
-
- Install the bolts through the guide lugs (if present) on the valve body.
- Do not tighten the bolts yet.
No Gaskets
-
- Do not use gaskets during installation.
Open the Valve & Tighten Bolts
-
- Open the valve to prevent the liner from forming around the disc during bolt tightening.
- Tighten the bolts using the standard cross-wise method.
Avoid Closed Disc Position
-
- Do not install the valve with the disc in the closed position.
- Installing with the disc closed can create a ridge around the disc, increasing the initial operating torque.
Avoid Fully Open Disc Position
-
- Do not install the valve with the disc open beyond the body.
- This can damage the disc and, subsequently, the liner during valve operation.
Remember to always refer to the manufacturer’s specific installation instructions for your particular valve. Proper installation ensures optimal performance and longevity of the wafer style butterfly valve.
If you have any further questions or need assistance, feel free to ask!


