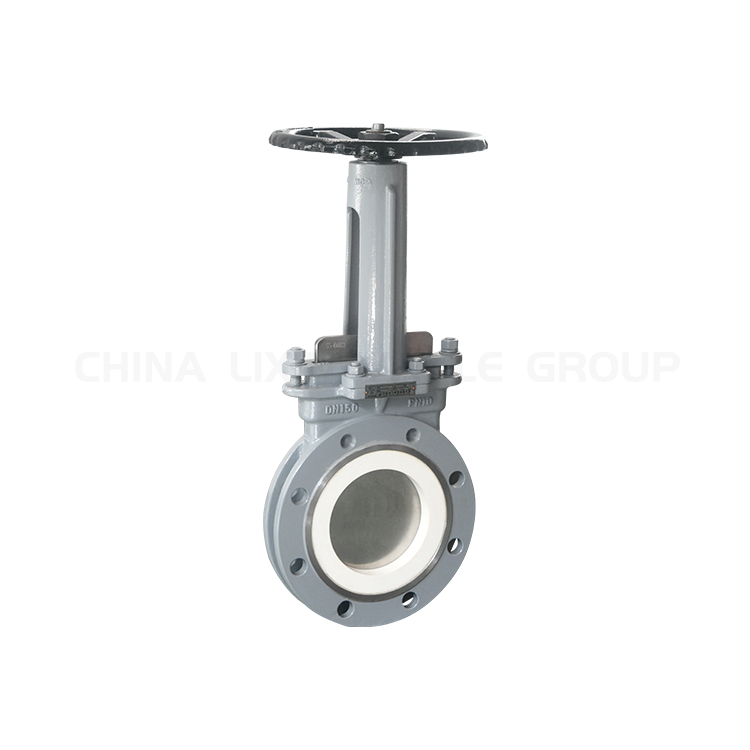
How do I maintain a ceramic knife gate valve?
Release time: 2024-03-15 10:03Views: 27
Maintaining a ceramic knife gate valve is crucial to ensure its proper functioning and longevity. Here’s a general guide on how to maintain it:
Regular Inspection
-
- Check the valve for any signs of wear or damage, especially focusing on the sealing surfaces and the gate itself. Look for cracks, corrosion, or any loose parts.
Packing Adjustment
-
- Adjust the packing once a month to ensure a tight seal and prevent leaks. Properly adjusted packing helps maintain the valve’s integrity.
Lubrication
-
- Lubricate the valve’s moving parts, such as the gate and stem, to ensure smooth operation and prevent excessive wear. Regular lubrication enhances the valve’s performance.
Safety Measures for Maintenance
-
- When maintenance is necessary, prioritize safety:
- Shut off all operating lines to the valve.
- Isolate the valve completely from the process.
- Release process pressure.
- Drain the process fluid from the valve.
- When maintenance is necessary, prioritize safety:
Replacement Packing
-
- Standard repacking kits are available from ceramic knife gate valve suppliers. These kits include the necessary packing to ensure a tight seal. When ordering, specify the valve model number, seat type, and type of valve.
- To replace packing:
- Remove packing gland nuts and bolts.
- Raise the gate to the full open position.
- Pull up the packing gland to the top of the gate and secure it.
- Remove the old packing using a packing hook or screwdriver.
- Clean the packing box carefully.
- Insert new packing one row at a time using a pre-cut packing kit.
- Tighten the packing gland using the cross torque method (avoid over-tightening).
- Bring the valve up to working pressure and adjust the gland to stop any leaks.
Seat Replacement
-
- To replace a seat:
- Remove the valve from the line.
- For bidirectional perimeter seats:
- Disconnect the stem clevis from the gate and remove the yoke and stem assembly.
- Remove the packing gland, packing, and valve gate.
- Remove the seat by gripping it firmly and using a pair of vice grips.
- Clean the valve body thoroughly.
- Install a new seat following manufacturer guidelines.
- To replace a seat:
Remember that proper maintenance extends the life of your ceramic knife gate valve, ensuring reliable performance in various applications. Always follow safety protocols during maintenance procedures.
For More Detailed Information, Visit: Lixin Valve Group


